Why do I have a Privacy Warning on my WiFi?
1 Why do I have a Privacy Warning on my WiFi?1.1 What does Privacy Warning mean on WiFi?2 How to Fix Privacy Warning WiFi iPhone 20222.1 Reboot iPhone or iPad – Privacy Warning WiFi iPhone 2.2 Reboot Wi-Fi Router2.3 Upgrade Wi-Fi Router Firmware2.4 Reconfigure Wi-Fi Network2.5 Use Apple Recommended WiFi Settings2.6 Bottom Line | WiFi Privacy Warning
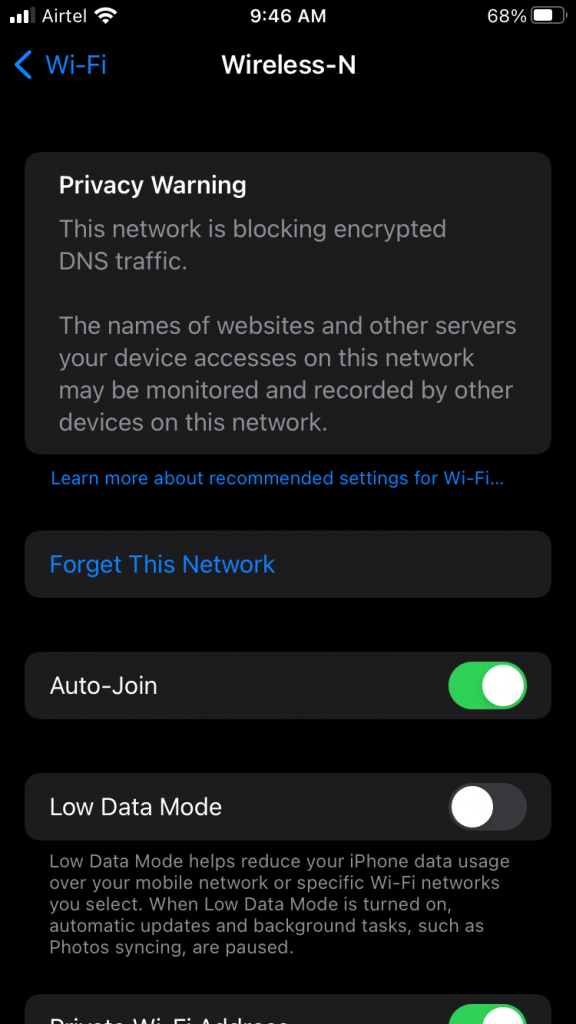
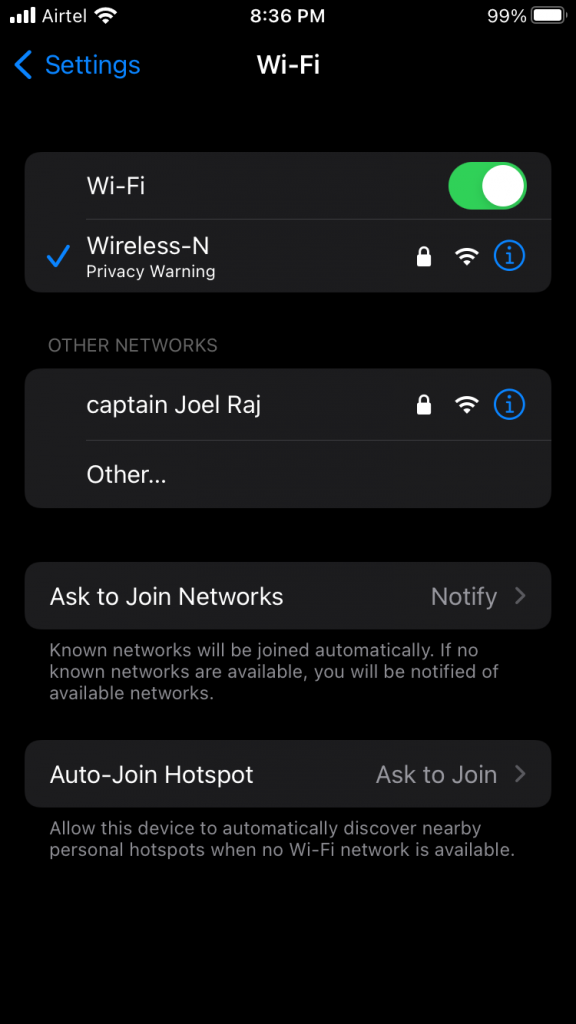
Apple has sold the products to privacy-eccentric users. You might have watched commercials where the company boasted about the privacy-focused iOS/macOS software and features. The company has added advanced features to protect the user’s privacy. The Privacy Warning appears in the Wi-Fi settings when the wireless router reveals the device’s Mac address. iOS software encrypts the DNS traffic. The wireless router is not masking the iPhone’s physical Mac address, and the website trackers can track it. The iOS software took the initiative to inform the users about it. Of course, it’s a cause of concern for business owners and representatives connected to the public Wi-Fi hotspots.
What does Privacy Warning mean on WiFi?
a. It’s not a good idea to share confidential information via unsecured connections. b. Avoid making payments from an unsecured network. c. Do not share location or upload content on social media profiles. Web trackers and Wi-Fi network administrators follow your internet footprint. You should not take risks when it comes to public wireless hotspots.
How to Fix Privacy Warning WiFi iPhone 2022
We implore the readers to take immediate action on the public Wi-Fi network. You can ask the management to address the problem and ensure users’ safety. Meanwhile, I enabled the Private Network option since my iPhone connected to the home network. I’m not worried about the eavesdropping or DNS leak since no one has access to the physical router.
- Open the “Settings” app from the Home Screen.
- Choose the “WiFi” options.
- Let iPhone connect to the home WiFi router.
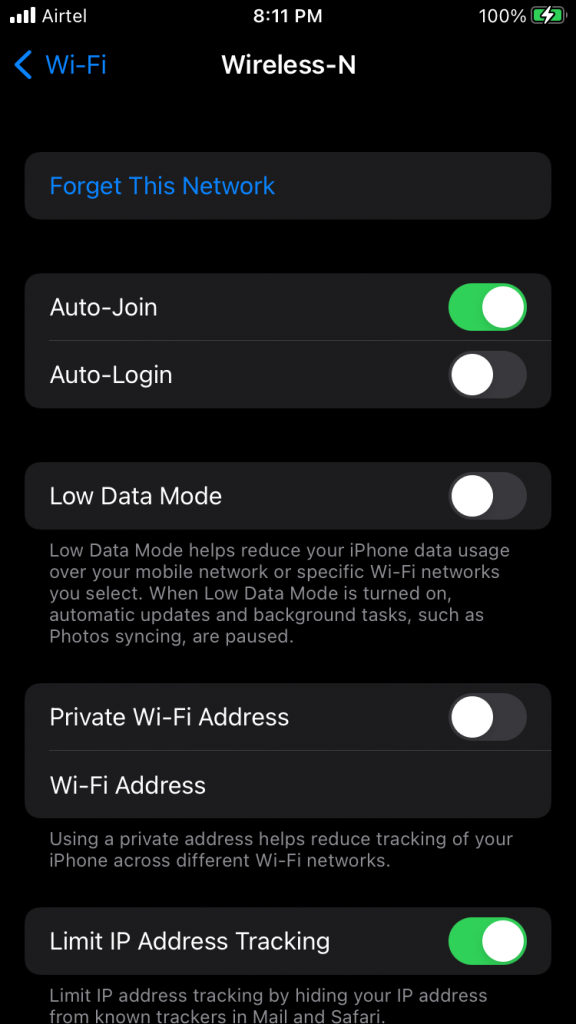
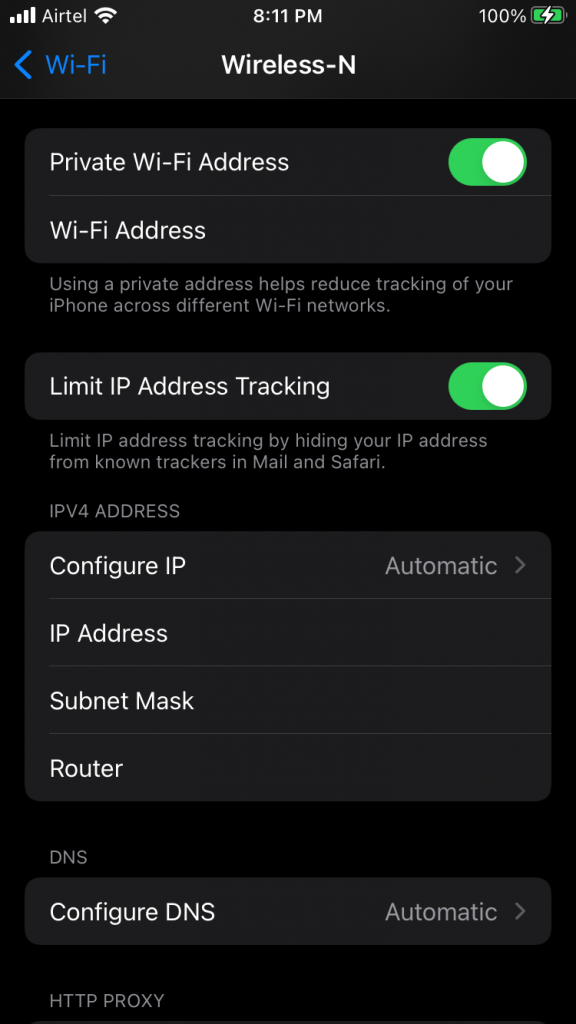
Tap on the (i) button beside the connected network. 4. Swipe down. Tap on the “Private WiFi Address” option.
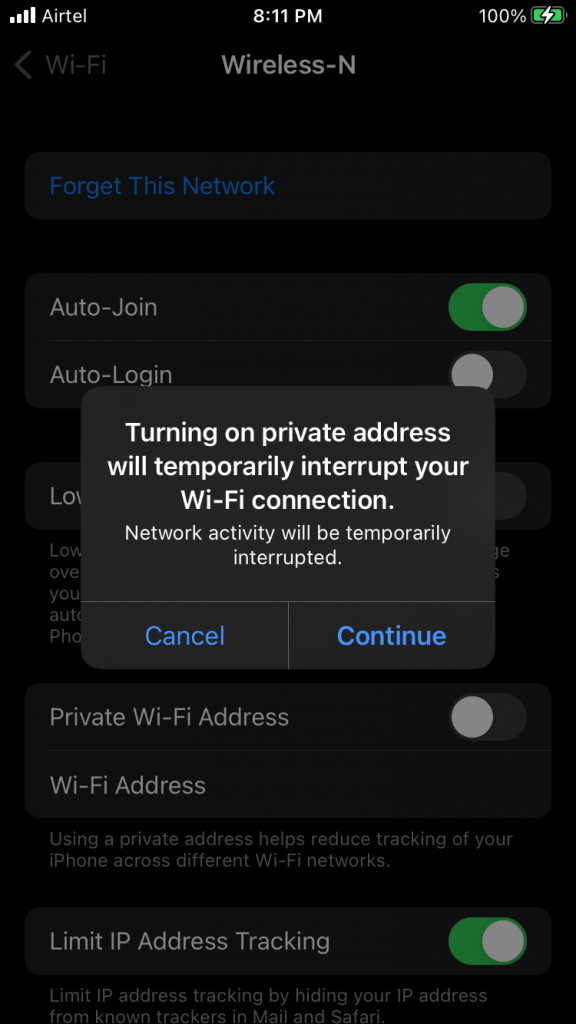
- A notification pop-up appears on the screen.
Tap on the “Continue” button. 6. Double-check the “Private Wi-Fi Address” activation.
- Restart iPhone. Remember, you should turn on the option only when the iPhone is connected to the home Wi-Fi router. I don’t recommend that users allow iPhone to ignore the coffee shop or restaurant connection.
Reboot iPhone or iPad – Privacy Warning WiFi iPhone
I don’t recall rebooting the iPhone in a long time. Apple optimized the iOS software and used premium parts for maximum performance. However, electronic goods have a limit, and we shouldn’t push them to the limits. Give your precious phone a restart. Let the iOS operating system dump the temporary files and start the drivers again. Follow the tutorial if the Sleep/Wake or Side button is not working.
Tap on the “Settings” app.
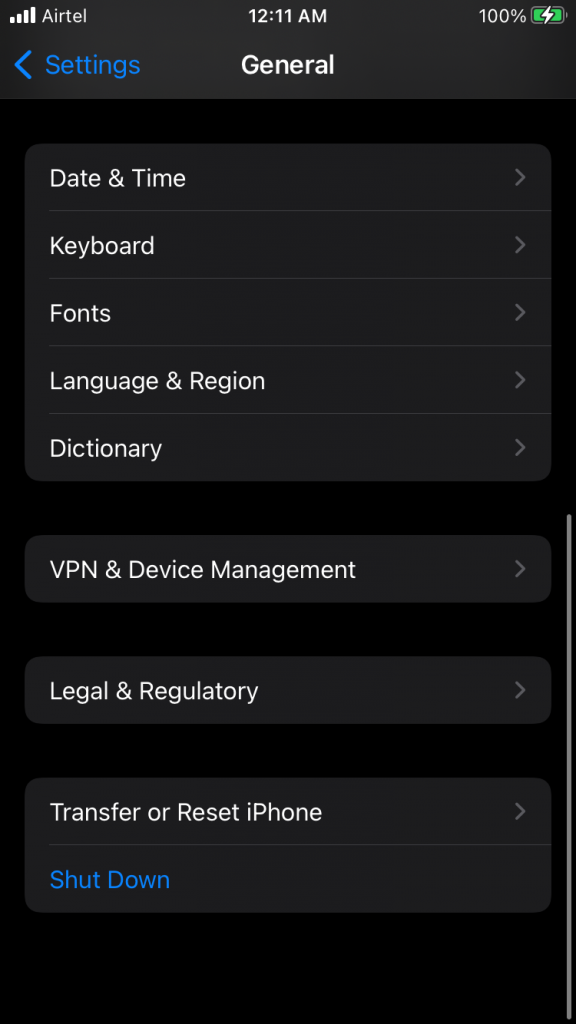
Choose “General” from the app.
Swipe down.
Tap on the “Shut Down” button.
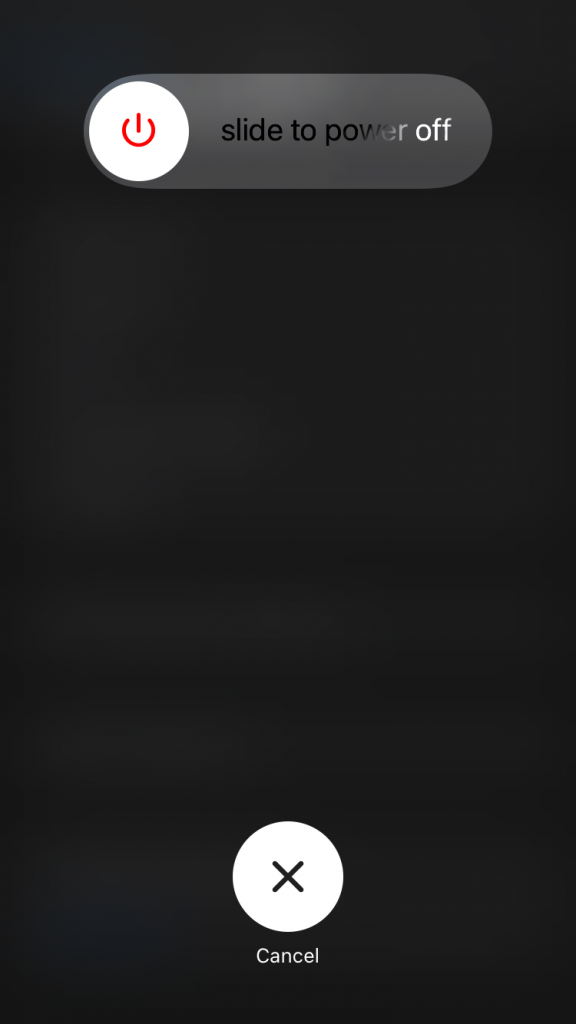
Swipe the power slider to the right side.
Let the iPhone sleep for a few minutes, and I would give a minimum of five minutes rest. 6. Pick up the lighting cable. 7. Charge the iPhone using the USB-C or lightning cable. Your iPhone will wake up and land on the Lock Screen without the Sleep/Wake or Side button. Use Apple Certified or genuine Apple cable to charge the device.
Reboot Wi-Fi Router
We should feel bad for the router in our homes. Unfortunately, the residential Wi-Fi networks don’t get enough sleep time and continue to serve the connected devices for months. Turn off the physical hardware for five minutes. There could be a software clutter in the router, and you can get rid of it by rebooting the system.
a. Turn off the router. b. Remove the power cable from the socket. c. Let the router sleep for a minimum of five minutes. Let the hardware release the heat from the enclosure. You can reboot the router using the system software.
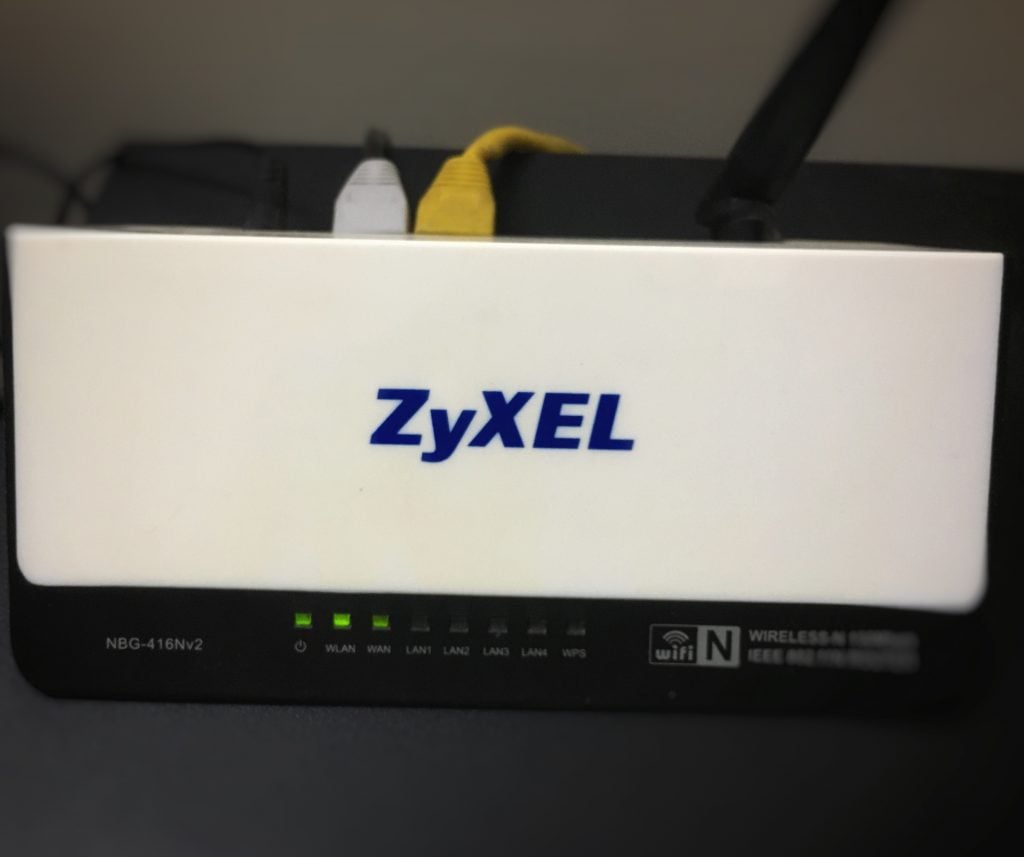
Find the login credentials from the router’s rear side.
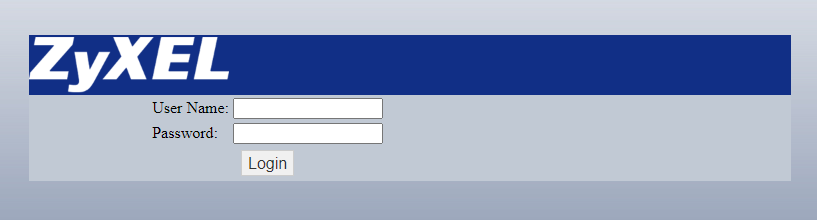
Enter the login IP address in the browser. Enter the login credentials in the empty field and click on the “Login” button.
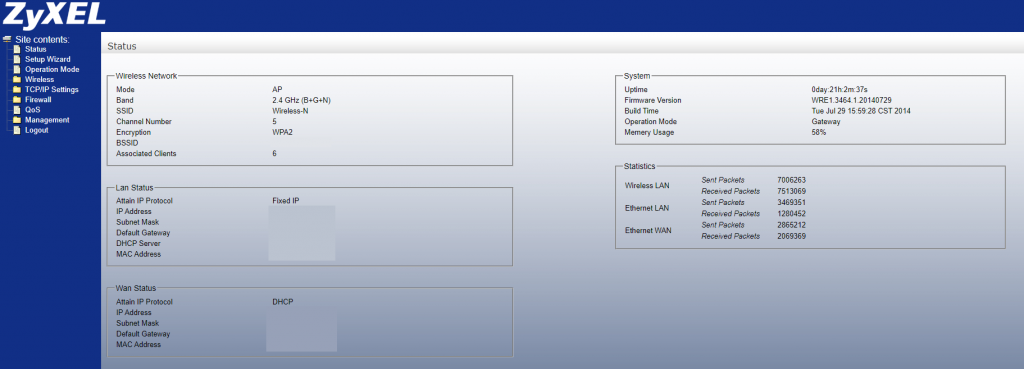
The user interface and options name may differ in your model.
Click on the “Setup Wizard” option from the side menu.
Click on the “Save & Reboot” button.
The wireless router reboots in a few seconds. Do not close the window or force cancel the sequence. The internet disconnects on all connected devices. The wireless router restores the internet connection in a few minutes.
Upgrade Wi-Fi Router Firmware
Many modern wireless routers have advanced options to encrypt the DNS traffic. However, the firmware may have shortcomings like bugs and glitches. The manufacturers have a dedicated software development team working behind the scenes. They collect information and feedback from the forums and direct complaints. I will show you how to update the Wi-Fi router firmware.
- Open a desktop-class browser.
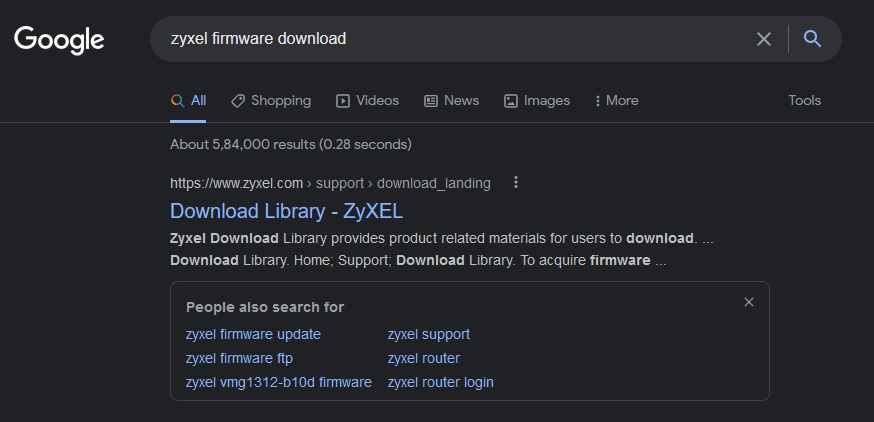
- Enter the Wi-Fi router model and brand name in the search engine.
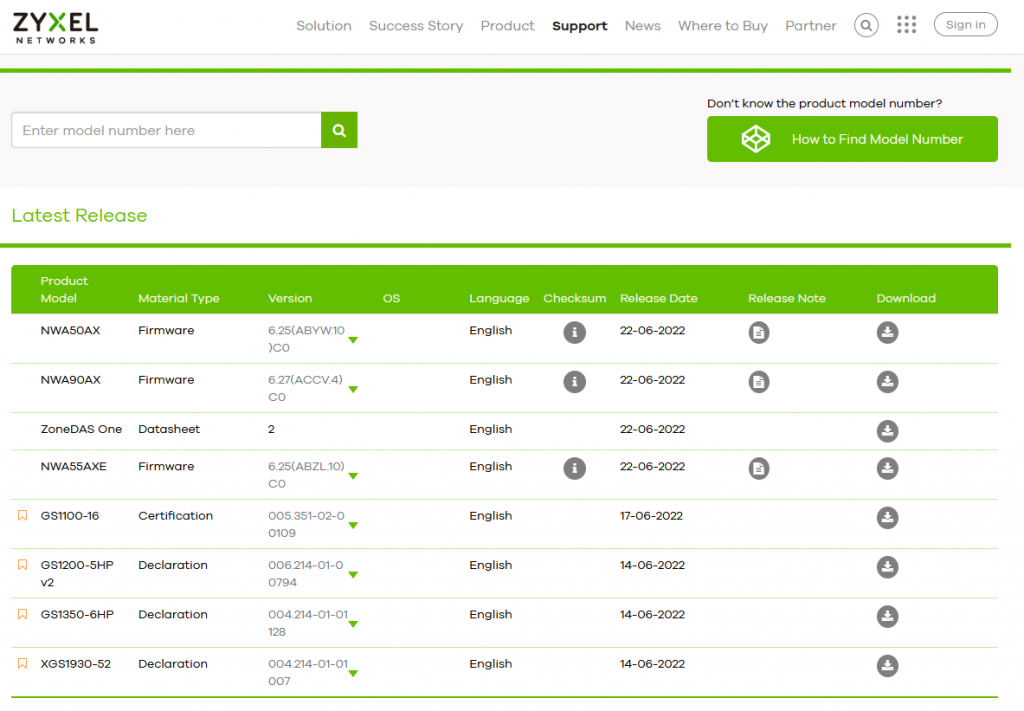
Example: Zyxel NWA50AX firmware download 3. Choose the official web page from the results. 4. Confirm the model number and click on the “Download” icon.
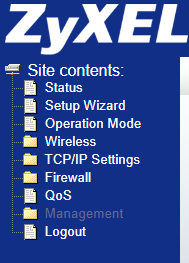
The firmware file size is around 25MB – 50MB. 5. Find the login credentials from the router’s rear side. 6. Enter the login IP address in the browser. Enter the login credentials in the empty field and click on the “Login” button. 7. Click on the “Management” option from the left side menu.
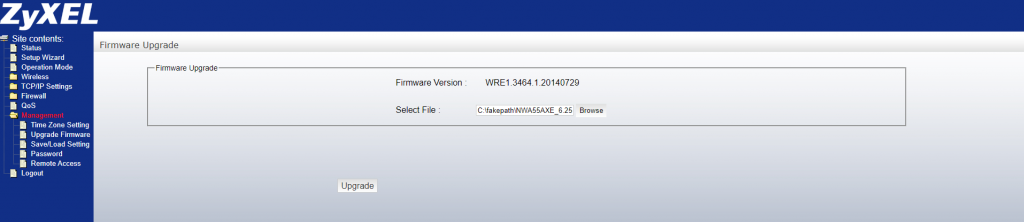
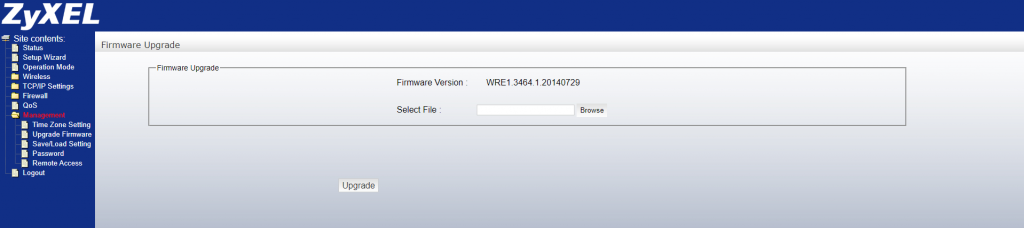
- Choose “Upgrade Firmware” from the drop-down menu.
- Click on the “browse” button.
- Select the downloaded firmware.
- Click on the “Upgrade” button.
Let the wireless router update the system firmware. The machine has less processing power, so wait a few minutes to finish the task. Manufacturers don’t release firmware updates for older models, so don’t get upset about it.
Reconfigure Wi-Fi Network
Remove the troubling connected wireless networks from the iPhone or iPad. Delete the network from the device, then add them a few minutes later. The iOS software deletes the information related to the Wi-Fi network and dumps the saved data. You can reconnect the same home network and create a new file. Let me show you how to remove the Wi-Fi network in the iOS software.
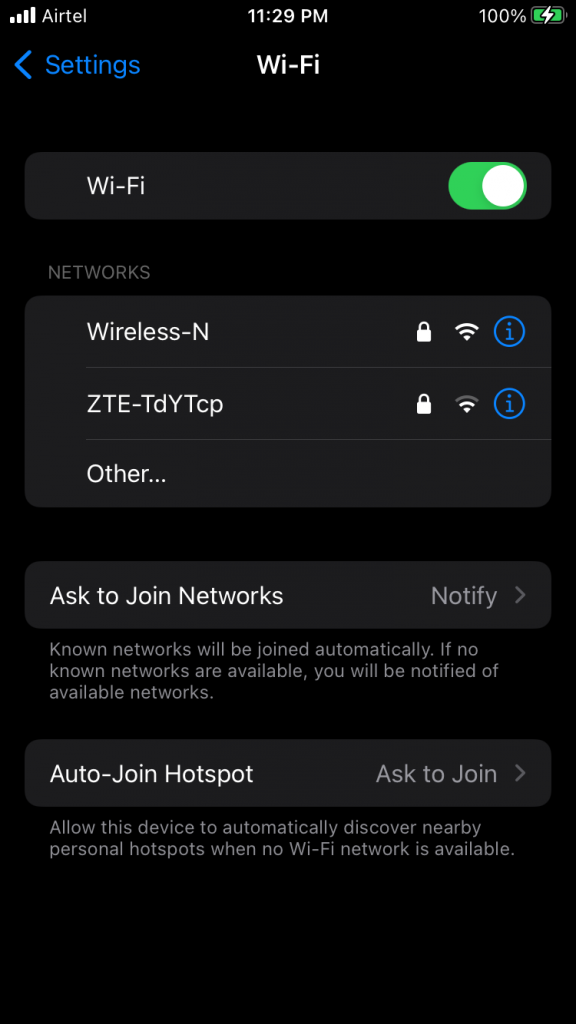
Open the “Settings” app from the Home Screen.
Choose the “Wi-Fi” options.
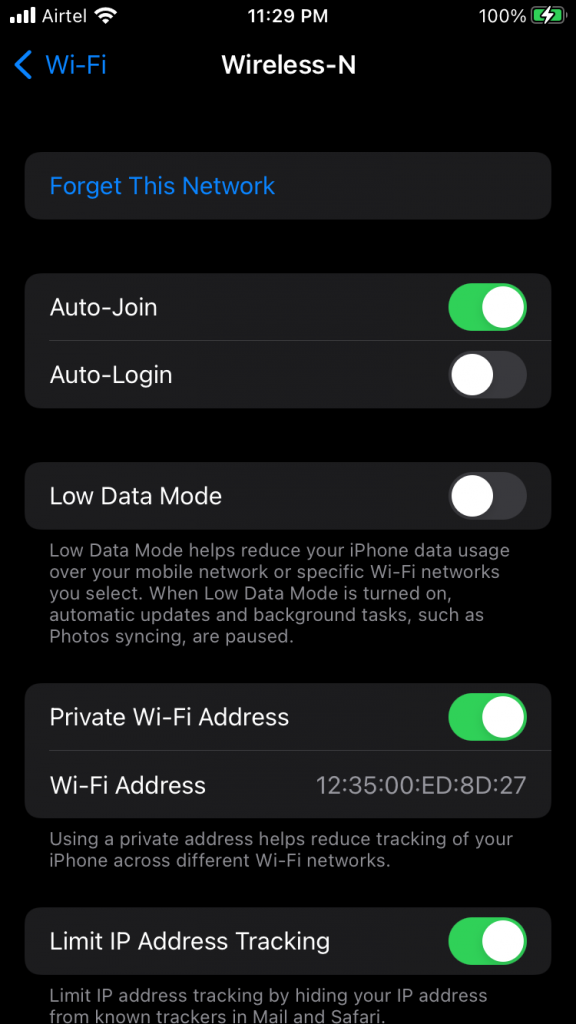
Tap on the (i) button beside the connected network.
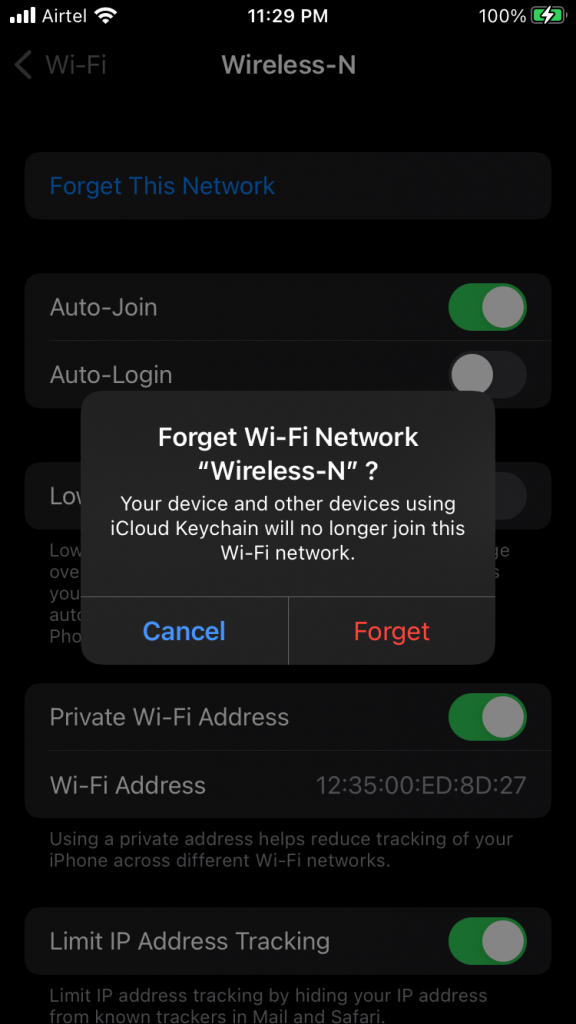
Tap on the “Forget This Network” option.
Tap on the “Forget” option in the confirmation bar.
Choose home network again.
Enter the valid password, then tap the “Join” button.
Reboot the iOS phone after connecting the device to the internet. Restarting the iPhone or iPad restarts the drivers and Apple services.
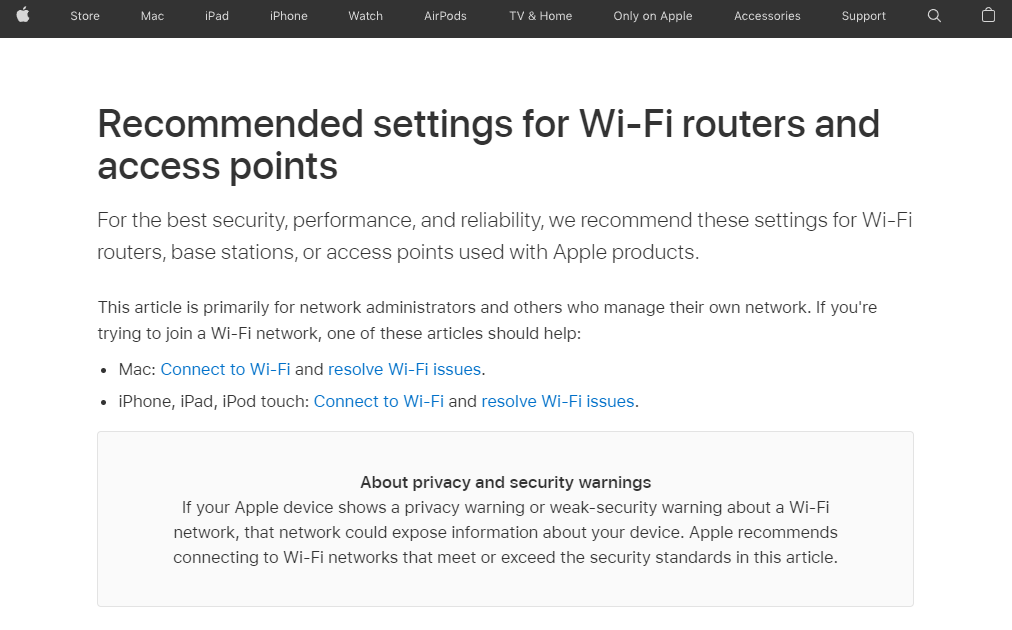
Use Apple Recommended WiFi Settings
You don’t have to contact the Apple support team for assistance. The company has technical writers who have covered recommended settings for Wi-Fi routers. You can go through the guide and take your time fixing the problem. Visit Apple page
Bottom Line | WiFi Privacy Warning
You don’t have to worry about the WiFi Privacy Warning on your iPhone unless it’s not connected to the home network. You should disconnect the iPhone from the Wi-Fi network if your life depends on it. Professionals like activists and journalists should be concerned about the Wi-Fi networks with Privacy Warning. Let us know your thoughts on the Wi-Fi Privacy Warning on your iOS device in the comment section below. RELATED ARTICLES:
How to Install and Update to iOS 16 on iPhone192.168.1.25 Admin Login Page, Username, Password, and WiFi SettingsHow To Log Into and Connect McDonald’s WiFiHow To Fix WiFi Icon is Missing On Windows 118 Ways to Fix WiFi Authentication Error on AndroidHow To Change Your AirDrop Name on iPhone, Mac, iPad
Δ