Download And Install MinGW/C++ Compiler In Windows 11
We have discussed the complete process to download and install the best free C++ IDEs in Windows 11. If you want to set up the C++ compiler in Windows 11, then follow the steps given below-
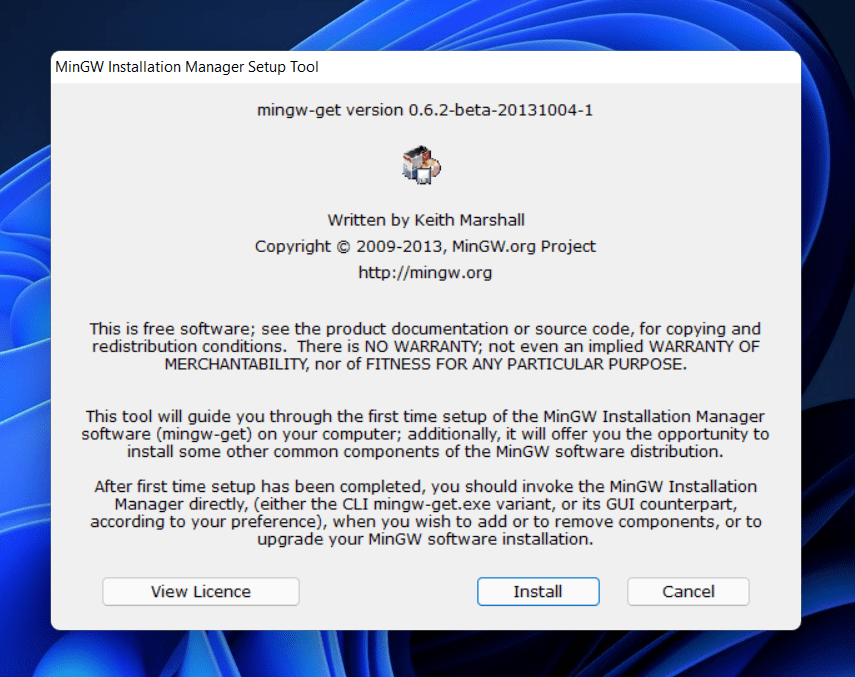
Firstly, download the MinGW installer on your PC. You can download the MinGW installer from the SourceForge website. Click on this link to download the MinGW on your PC. When on the SourceForge website, click the Download button, and your download will begin shortly. Now, head to the folder where you have downloaded the MinGW file. Double-click on the setup files to begin the installation. The MinGW Installation Manager Setup Tool window will open when you double-click on the file. Click on the Install button to continue installing the C++ compiler.
You will be asked to select the installation directory. By default, the installation directory will be C:\MinGW. However, if you want to change the installation directory, you can click on the change button and browse to the location where you want to install it. Click on Continue to continue ahead. You will see a progress bar that will show the status of the installation of the compiler. Wait for the status bar to fill. After that, click on the Continue button to install the C++ compiler.
The MinGW Installation Manager window will open up. On the right side, you will see packages for installation. Click on the checkbox next to one of the packages in the list, and then click on Mark for Installation. Do this for all the installation packages you see in the list on the right side.
After you have selected all the packages, click on the installation option on the menu ribbon, and from the menu that opens up, click on Apply Changes. Now, wait for the packages to get installed. After the packages are installed close the MinGW Installation Manager. After the installation is complete, you will have to set up the compiler. To do so, open the File Explorer by pressing the Windows + E key combo. Head to the bin folder in the MinGW installation folder. This will generally be at the following address- C:\MinGW\bin
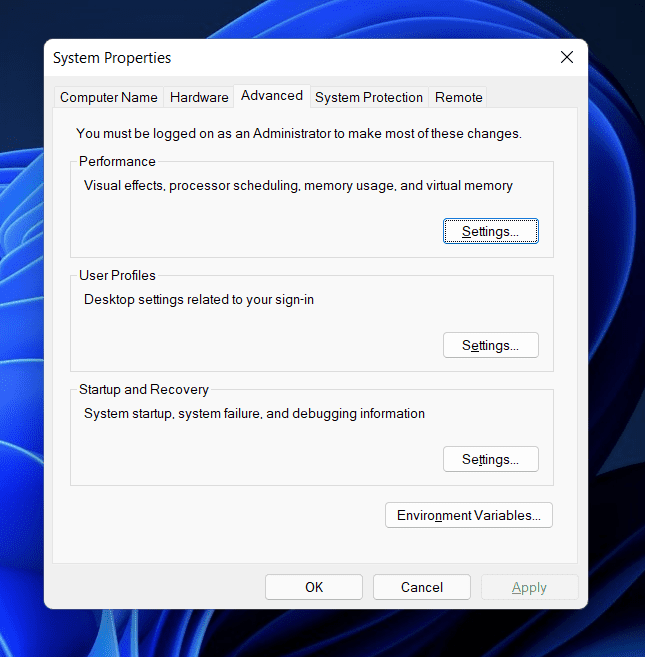
Copy the address of the bin folder. Now open the Start Menu, and search for View Advanced System Settings and open the very first search result.
You will be headed to the Advanced tab in the System Properties. Here, click on Environment Variables.
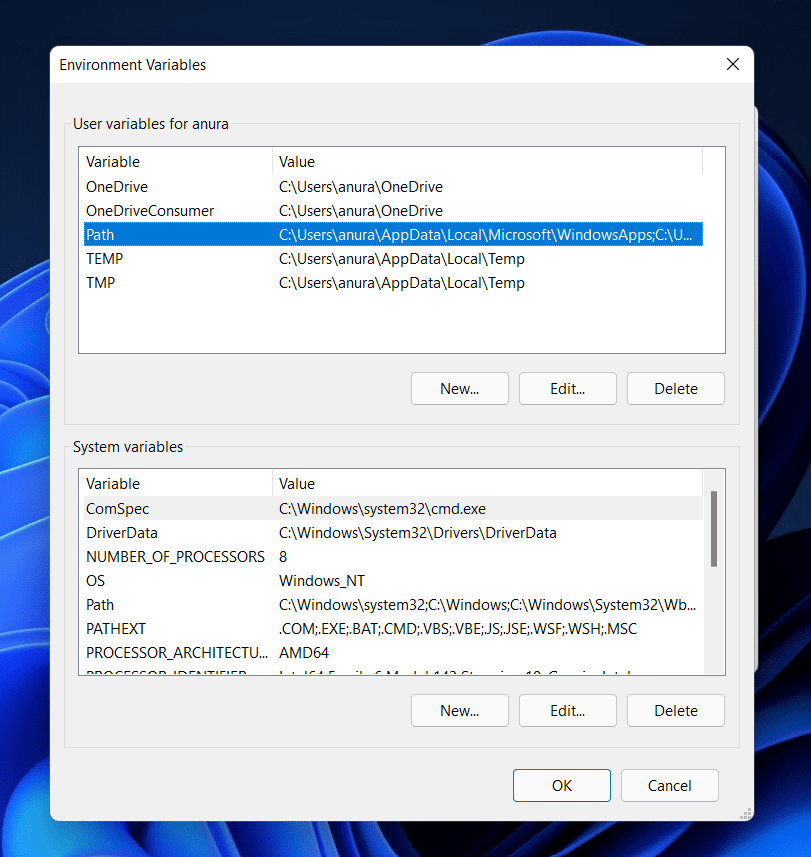
On the next window, click on Path under the User Variables. Click on Path and then click on Edit.
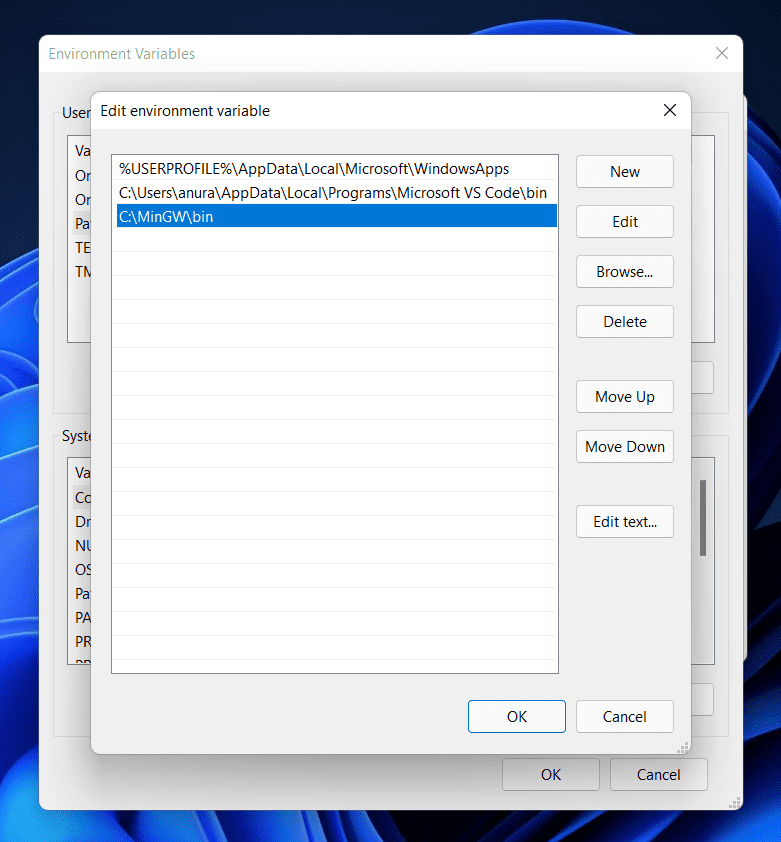
Now, click on New and then paste the location that you copied and then click on OK.
Click on OK to close Environment Variables and then click on Apply and then on OK to save the changes.
By doing so, you will be able to download and install the C++ compiler in Windows 11. MinGW works as the compiler for all the C and C++ editors. Following the above steps, you will be able to set up MinGW on your PC. ALSO CHECK:
How To Run Google Play Store On Windows 11Windows 11 Installation Stuck? Here’s How to FixWhat is WSAPPX in Windows 11: Fix High CPU Disk UsageFix Windows Hello PIN Remove Button Greyed Out in Windows 11
Final Words
You can download and install the C++ compiler in Windows 11. Following the above steps, you can set up MinGW on your PC. You can use MinGW with a C++ editor like Visual Studio Code and make your programs. We hope you find this article helpful. If this article did help you, then do let us know in the comments section. Thanks
Δ