What is Boot Camp Assistant?
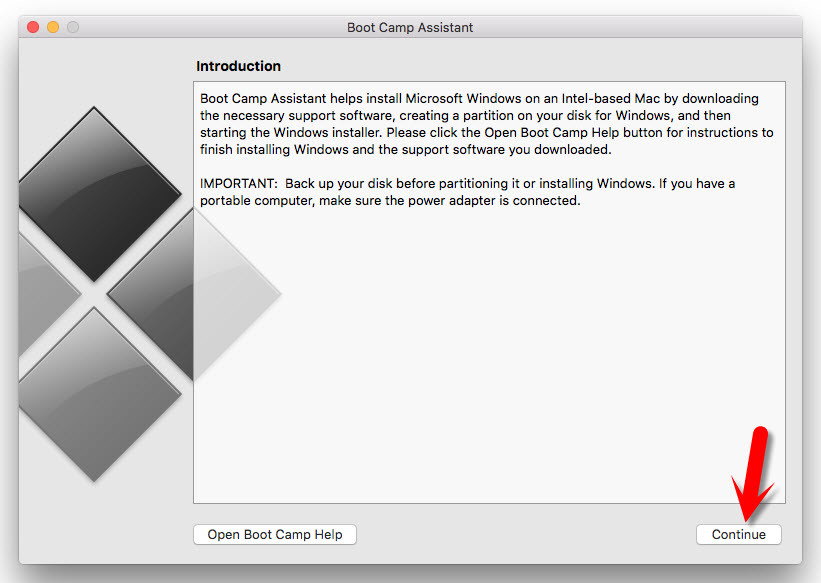
Boot Camp Assistant is an Apple Mac OS built-in software that helps you to install Microsoft Windows on an intel-based Mac downloading the necessary support software, creating a partition on your disk for Windows, and then starting the Windows Installer. Important: If you have some essential files or documents, backup your disk before partitioning it or installing Windows. If you have a portable computer, make sure the power adapter is connected.
Install Windows 10 on Mac Using Boot Camp Assistant
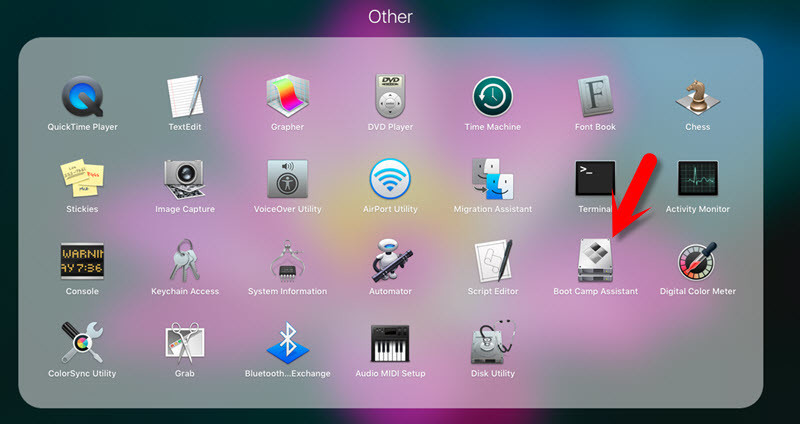
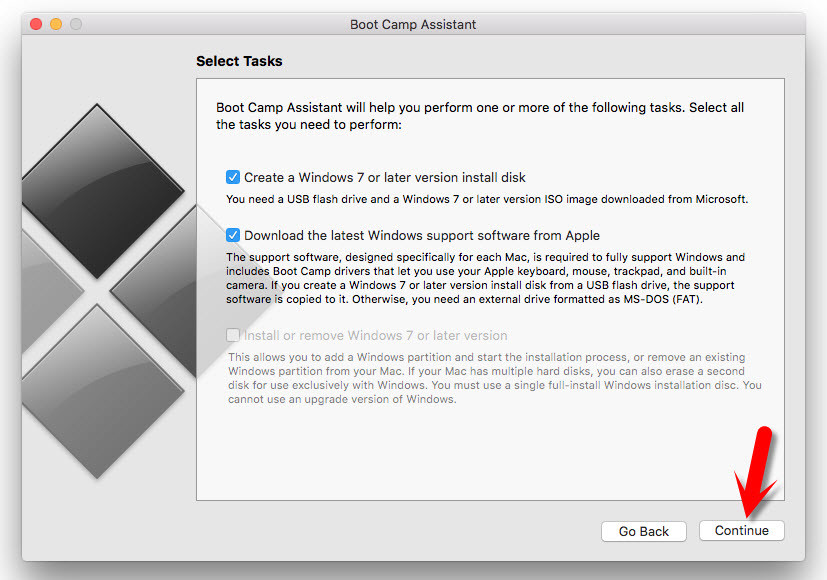
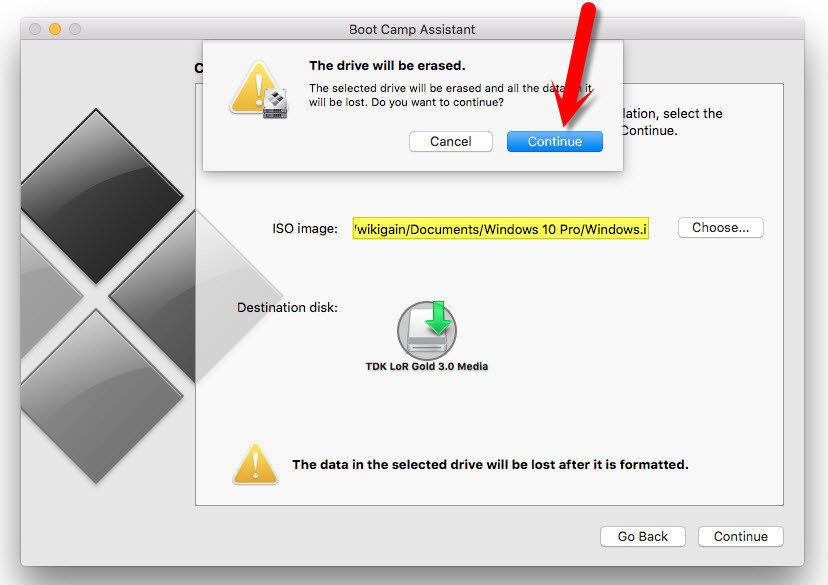
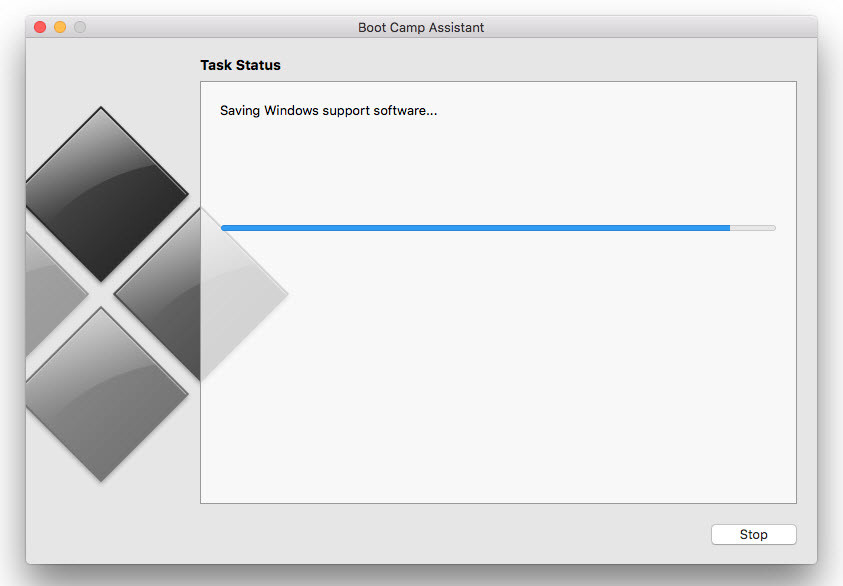
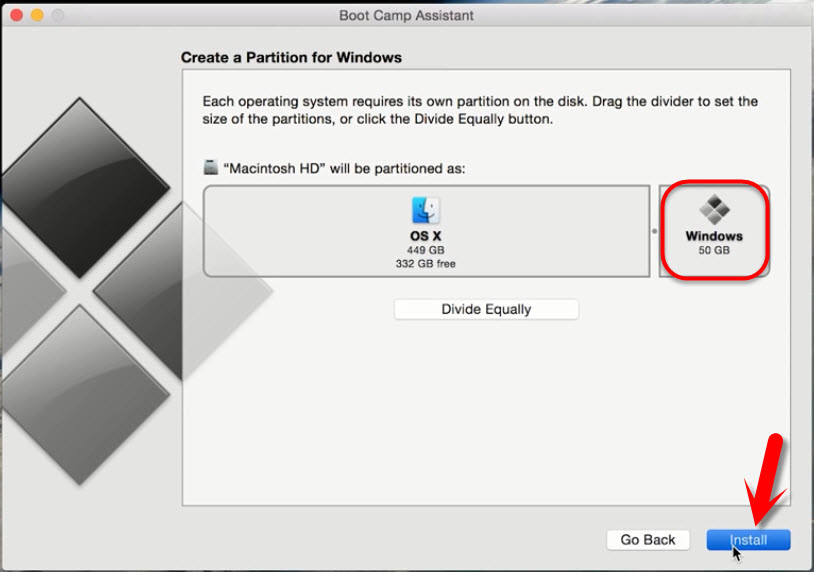
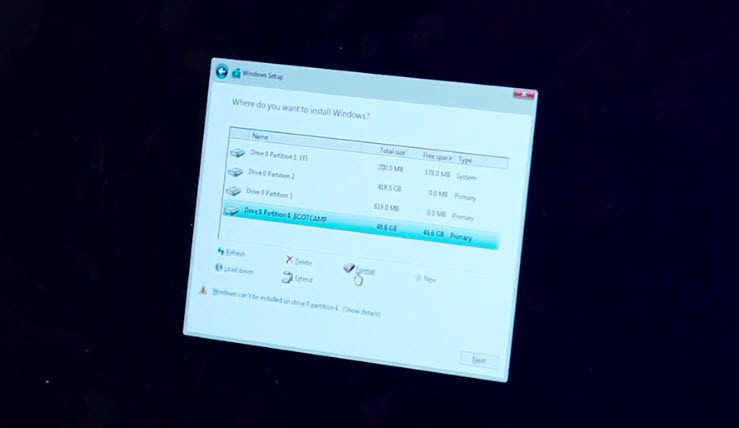
To install Windows 10 on Mac by using boot camp, you have to download the boot camp drivers for Windows operating systems. Now, I will show you how to do it. Insert the USB flash drive with at least 8 GB capacity. Open up the boot camp software from the application folder. The “Boot Camp Assistant” will be shown to you. Click “Continue” button. In the “Select Tasks” choose all of them. Make sure that you read the each option introduction right below each section. Click the “Continue” button. You’ll be prompted to the “Create bootable USB Drive for Windows Installation” window. Here you need the Windows 10 ISO image file. Download the Windows 10 ISO Image file. Once the download is completed, click the “Choose” button then select the Windows ISO file. Now, hit the “Continue” button. You have to wait for some minutes. It’ll take around 50 to one hour to complete the process. Boot camp assistant is around 1.5 GB. Howsoever, your internet connection would speed, this task will complete that much soon. Once the boot camp is download inside USB flash drive, create a new partition for Windows on your Mac device. The minimum size should be around 20 GB. Once you’re satisfied, click “Install“. Your computer will restart automatically and will boot with Windows 10. If it’s not boot, turn off the device and turn it on. Press and hold the option key to see the Windows icon on the screen. Choose Windows then hit “Enter“. Now, Install Windows on the new partition that you have created for Windows. Select “Boot Camp” drive then format it. After formatting, choose it then hit the “Next” button. After this step, you should install Windows normally. If you don’t know how to Install Windows on Mac, we recommend you the below articles. This is the final result of Installing Windows 10 on Mac with Boot Camp Assistant. At the Last you have to install the boot camp assistant on your Mac device. Because this software is going to help you to install all the necessary drivers of Windows on Mac.
Conclusion
I hope that you have got something from this article. If you have any question regarding this article or our previous topics, just feel free to ask us. Install Windows 10 with Boot Camp Assistant.